Perhaps your home aesthetic screams of a need for a separate structure to park your cars under. Maybe you like the idea of extending your garage space to fit a tractor or snowmobiles in.
Regardless of why you want one, you should know that you can build one. You no longer have to fork out thousands of dollars for someone to come build a separate structure of protection for your cars, boats, or ATVs.
Increase the life of your vehicles by offering them year-round shelter. It can extend your vehicle health, and you’ll save money on repairs from weather wear and tear. Furthermore, it just might increase the value of your home if the project is well done and up to code.
We’ve done the research for you and have compiled a guide on how to build a carport:
Permit It Before You Build A Carport
First, you have to get the proper permits to build a carport. You can check with your local city planning office to ensure that your building plans and structure are up to code. It is important to remember that additions and new construction on your property can alter the value of your home.
This is why it is so important to make sure the project is cleared by the city. In certain areas, there are rules and regulations about producing structurally sound building drawings. The drawings need to include a signature of a licensed structural engineer.
To get your permit, you’ll need the proper permit application worksheets that the city can give you, construction drawings, and proof of property ownership. Once you’ve got all those in place, take them in and get your project signed off.
You’ll have peace of mind that your carport is a safe addition to your home. When cleared by the city, real estate agents are allowed to include it in the overall value of your property as well.
Material World
Carports can be built from a variety of materials. There are carports made of metal or wood. Depending on the style of your home and the climate in which you live, different materials might be necessary.
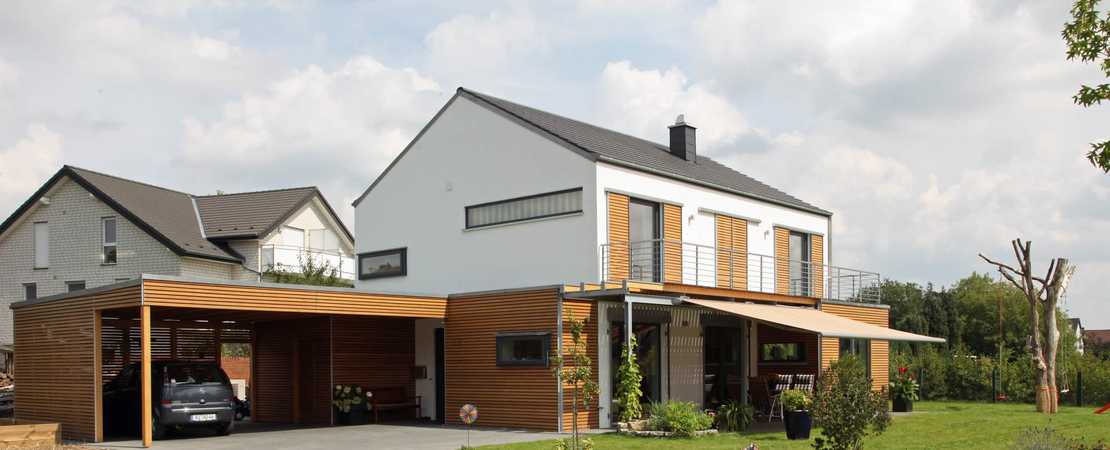
Your desired design will also affect which materials you use. You can customize your carport and make it a real standout with beautiful wood features that are available and in your budget. Don’t be afraid to try something new, whether it’s in design or color.
Pressure-treated lumber is a great option for drier climates. It will be a durable option and is easy to customize and build into different designs and shapes. Pressure-treated wood is a good choice for most places and most carport concepts.
If you want a long-term place to put your beloved machines, go with wood.
Otherwise, galvanized metal might do. A major pro of metal is that it is cheap and pretty quick to install. Garage buildings made of metal make great barriers against adverse weather for your vehicles.
If you are in the need of an instant carport, then this might be the right fit for you.
Pre-fabricated carports made of metal are a great rescue option for cars or ATVs that are being damaged from being under harsh weather conditions. They are also great for DIYers.
Measure to the Madness
Average sized cars need a rectangle of about 16 feet long and about nine feet wide. You need to plot this rectangle on the ground. Most carports will need around six posts.
Place the six posts at each corner of the plotted rectangle. You can place two more in middle positions along the length of the carport. If you have a large truck or trailer, then you will need to make the proper adjustments to accommodate the things you’d like to store in the carport.
This isn’t hard to do, simply measure your vehicles and then amplify your carport structure measurements to comfortably house them.
Level Ground for Your Carport
The key to any good carport is leveling the ground if necessary. You can remove any grass or layers with proper leveling equipment. Shoveling will work, and you can rake over the under layers to even out the area.
The level ground doesn’t need to be perfect, but you can definitely measure for the grade to make sure it’s as good as it can possibly be. If you already have a concrete pad, you can build a carport there. Measure the dimensions and base your structure and measurements on the pre-existing pad.
Beam Building 101
Next, dig holes for the posts and place the holes equidistant from one another. Space the holes around the perimeter of your measured area. Use the structure plans for the carport, then use post-hole diggers and get your poles in place.
The holes should be two feet deep but can be four feet deep for ultimate stability. Then, set the posts! For a simple structure, use posts that are heavy duty and about nine feet high on one side, and eleven feet high on the other.
Set the posts in concrete pours that are six inches deep in the two-foot hole. Then, fasten the beams together so they support one another. Use t-shape hangers that can be found at any hardware store.
Roof It
Next, it’s time to put up your roof. Use your construction plans to place the roof beams accurately and in position. Then, notch your rafters with a circular saw so they sink into one another.
Then you’ll fasten the plywood roof boards to the rafters. You should get large plywood sheets and use a saw to create a roof with as few seams as possible. Check the stability of the structure.
Next, caulk the plywood roof seams to keep the elements out. Cover the roof with tar paper or synthetic paper to help keep your roof waterproof. You don’t want any leaks, or what’s the point of a carport?
You can then paint or stain your carport.
If You Build It…
….you can save a ton of money. Don’t be afraid of the DIY road when it comes to your carport. If built correctly, it can protect your vehicles and add value to your property. Keeping your machines safe can offer them a long life
The internet is full of free manuals and tutorials for your DIY ventures. For more free tips, tricks, DIY advice, or a space to advertise, contact us today.